How to purchase apps from NAV-X?
All our apps are available for Microsoft Dynamics 365 Business Central online. You can find all our apps on Microsoft AppSource. For different apps, we provide different options on how to buy the apps. Some of our apps can be purchased directly through AppSource and that is indicated by a “Buy Now” button being available on the app page on AppSource. The other apps, which have “Free Trial” or “Contact me” available, but not the “Buy Now” button can be purchased through NAV-X
You can easily purchase our products from within your Microsoft Dynamics 365 Business Central tenant. You will just have to search for Extension Management and then click on Extension Marketplace. You can then search for the product you desire and simply install it. This will allow you to test out the functionality and make sure that it suits your business processes. Do you want to purchase one of the products? This is also done directly from within your Microsoft Dynamics 365 Business Central tenant.
If you have any questions during the test or after the installation, please contact our support and our team of experts will help you. Do you have any other questions? We are also here for you to help you. Please contact us.
“Free Trial” / “Contact me”
When selecting the “Free Trial” button, you can install the app in your production and/or Sandbox environment. This will then allow you to follow the registration wizard, which will be accessible through a notification shown on the role center. Once registered, you have 30 days to try out the functionality for free. If you then want to purchase the app, you can do this through the wizard or just contact us and we can work with you to process the subscription.
If the app only has a “Contact me” button, we will reach out to you to go through the process of installing and registering the app for a trial. You can also contact us directly, instead of selecting the “Contact me” button.
“Buy Now”
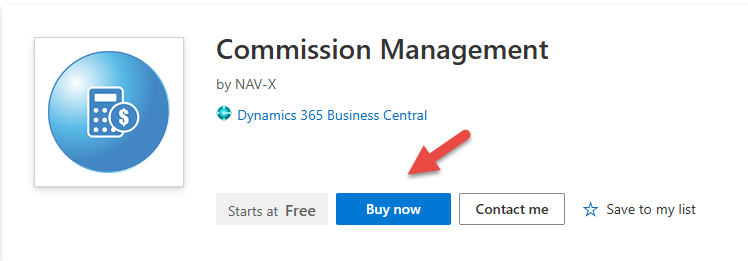
Some of our apps can be purchased directly from AppSource. This is indicated by a “Buy Now” button on the AppSource page for the app. Purchasing the apps comes with an automatic 30 day free trial in which you are not charged for the subscription. Once the 30 days are over, the subscription is converted into a billable subscription.
All of this is done by Microsoft and the advantage you have with Microsoft handling the billing is that you will be billed for any NAV-X apps the same way you are being charged for Microsoft 365 or Microsoft Dynamics 365 Business Central licenses.
The process of purchasing and assigning licenses is different for End-Customers purchasing the app for their own environment and for partners purchasing for their clients. The following steps provide the different steps for End-Customers as well as partners. The following process walks you through purchasing the Commission Management app, but the process is the same for any of our apps that are enabled to be purchased directly from AppSource.
Purchasing NAV-X Commission Management for End Customers
After clicking on “Buy Now” on the AppSource page, you will be asked to sign into your account. You must sign in with your organizational email address, the same you are using to access Microsoft Dynamics 365 Business Central.
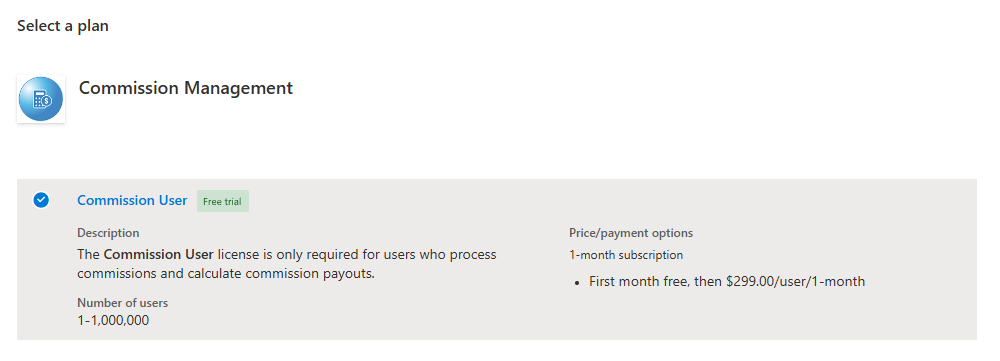
Once you are logged in, you will see the option to select a plan to purchase. There is only one plan available, therefore, the proper plan is already selected. Please ensure that the plan is selected and then select the “Next” button.
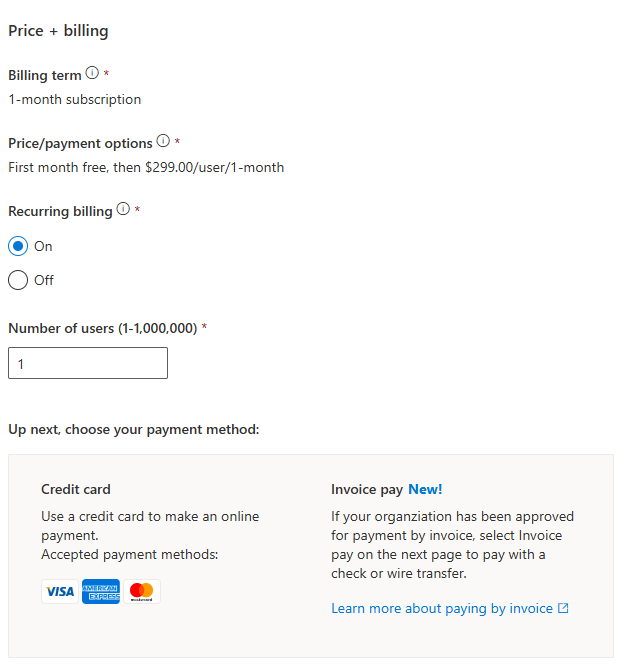
The next page shows the number of licenses to purchase. Please ensure that you enter the quantity of users who will be working with the Commission Management functionality. Any user entering rates or processing commissions must have a license. Normal users processing orders or doing other tasks in Microsoft Dynamics 365 Business Central only and not working with NAV-X Commission Management do not require a license.
You can also select whether you would like to have Recurring billing turned on. If you do not have this turned on, the license will be removed once the current billing term (1 month) is over. This is typically only needed when you would like to sign up for the trial only and are not planning on purchasing the app yet. Once you are using Commission Management, you must have recurring billing turned on. Please select the “Next” button once you have confirmed all selections.
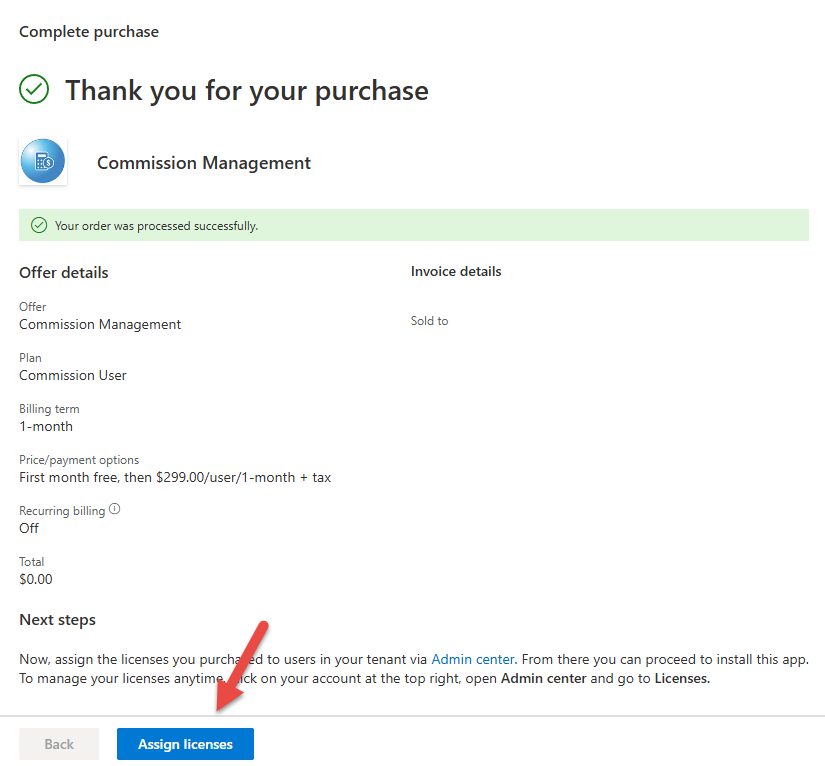
The next page shows the “Checkout” page providing you with an overview of all selections you have made. At this point, you can also define the credit card to be used for this charge. If you don’t have a credit card on file yet, you must define a new “Billing Profile” to define the credit card. If your organization is approved by Microsoft to pay by invoice, you can also select this option. Once you have confirmed that everything is accurate, please select the button “Place order“. This will complete the purchase for you. It will take a little bit for the order to be completed, but you will see a confirmation page at the end of the process.
When the confirmation page is displayed, you can select “Assign licenses” at the bottom of the page to assign the licenses to your users. You can also assign these licenses later by opening the Microsoft 365 Admin center and going to Licenses.
Assigning licenses
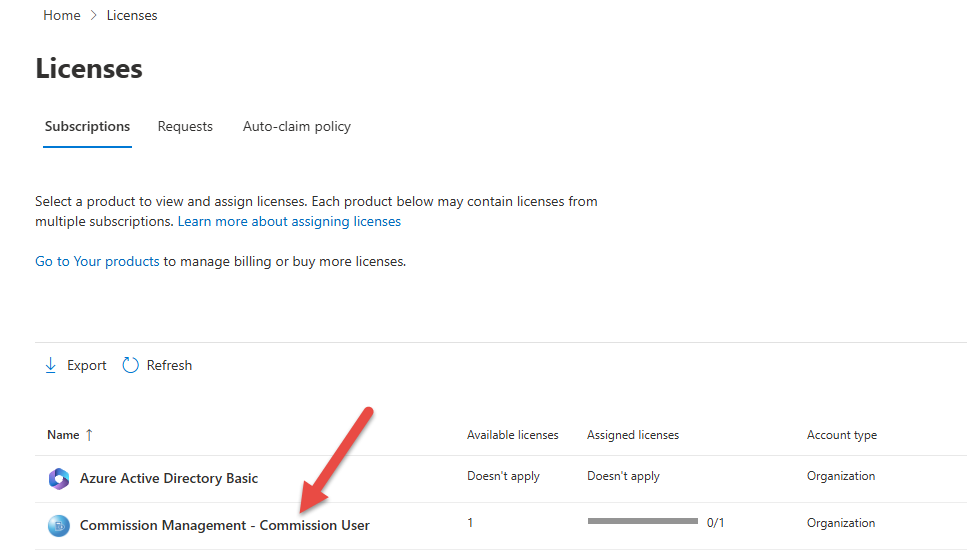
When clicking on “Assign licenses” a new window opens and redirects you to the Microsoft 365 admin center and to the licenses page. Here you see a list of all subscriptions that you currently own. Please locate the subscription with the name “Commission Management – Commission User” and click on it.
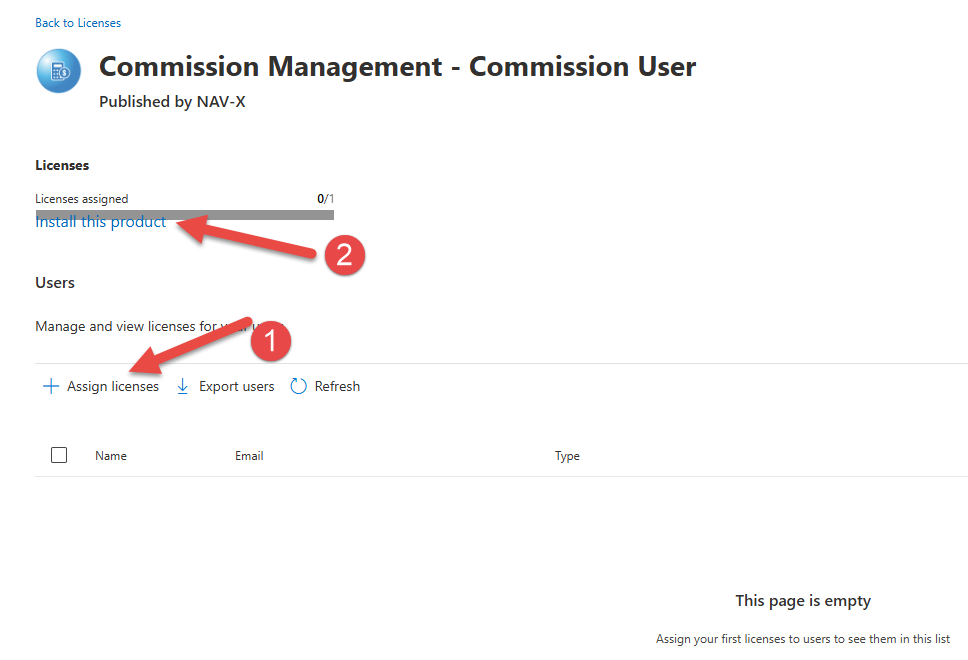
You then can click on “Assign licenses” to select the different users you want to provide a license with (1). Once you are done assigning licenses to all users who work with NAV-X Commission Management, you then can install the app in your Microsoft Dynamics 365 Business Central environment by clicking “Install this product“. (2)
Purchasing NAV-X Commission Management for Partners
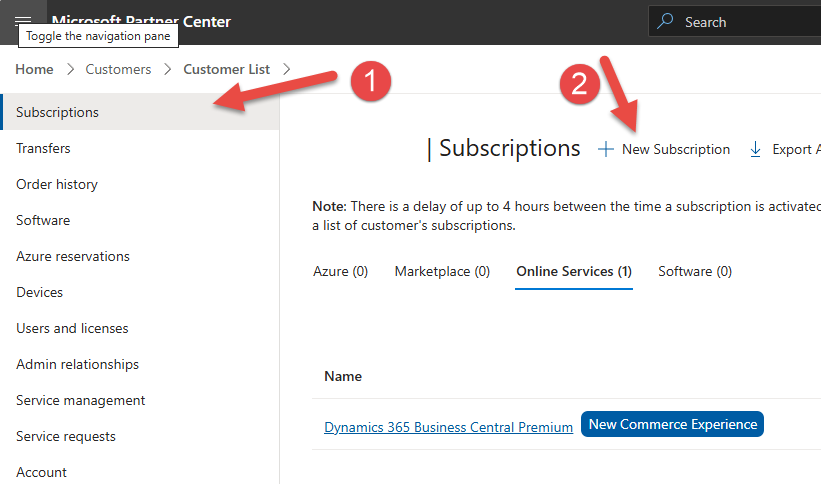
If you are not a Microsoft Cloud Solution Provider (CSP), you can follow the process above described for End-Customers. As a CSP, you can follow the process shown below. To purchase the licenses for one of your clients, please log into the Microsoft Partner Center and navigate to your client’s account. Then, please navigate to the “Subscriptions” (1) tab.
Within the Subscriptions tab, please select “New Subscription“ (2).
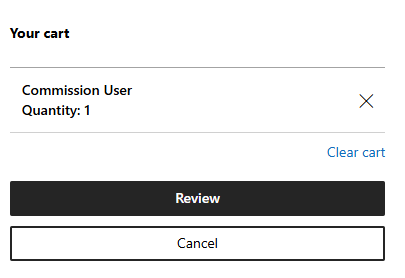
After you clicked on “New Subscription“, you will see the “Add New” page. Please select “Marketplace” (1) and enter “Commission Management” in the “Search by name or ID” (2) box. Expand the details (3) and validate that it is Commission Management by NAV-X. Please select the number of user licenses you wish to purchase (4). Please ensure that you enter the quantity of users who will be working with the Commission Management functionality. Any user entering rates or processing commissions must have a license. Normal users processing orders or doing other tasks in Microsoft Dynamics 365 Business Central only and not working with NAV-X Commission Management do not require a license. At the end, please select “Add to cart” (5).

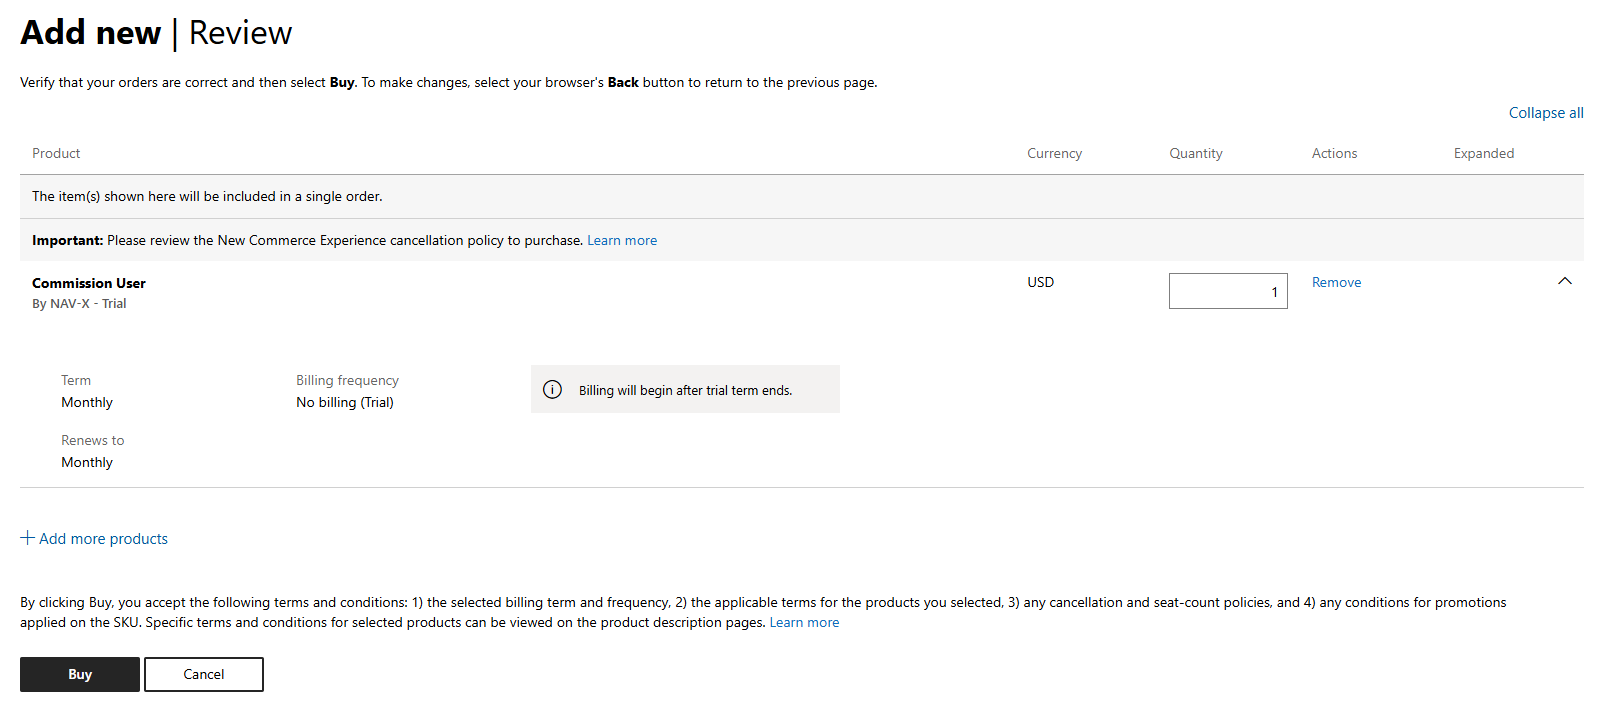
Please then click on “Review” to review your order.
The Review page or your order will show the details. Please validate that you have selected the proper number of users and then select “Buy“. This will then add the licenses to your client’s tenant.
After this, you can assign licenses to your client’s users. For this, please log onto the Microsoft 365 admin center for your client’s tenant. You can do this directly from your client’s account page in Partner Center by going to “Service Management” and then selecting “Microsoft 365” under “Administer Services“.
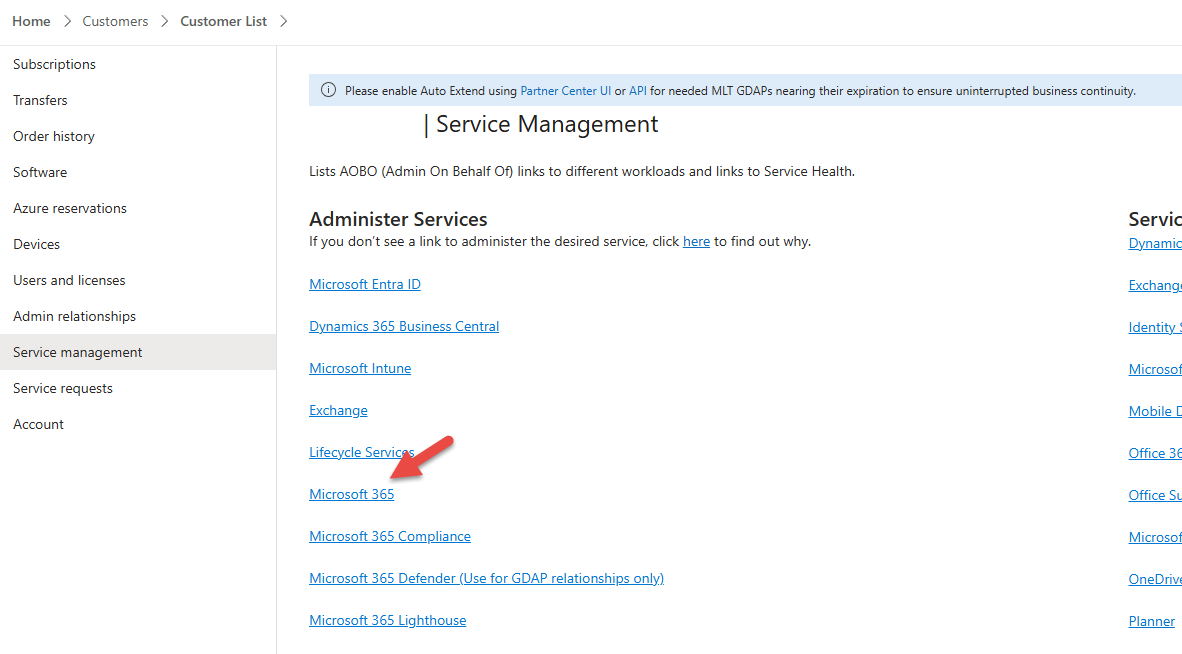
Once the admin center for your client’s tenant has loaded, please follow the steps provided above under Assigning licenses.